How to use eSIM Grab to find the best eSIM deal
Follow a seven-day Japan trip: budget your data, filter plans, compare the total cost and copy a promo code before checkout.
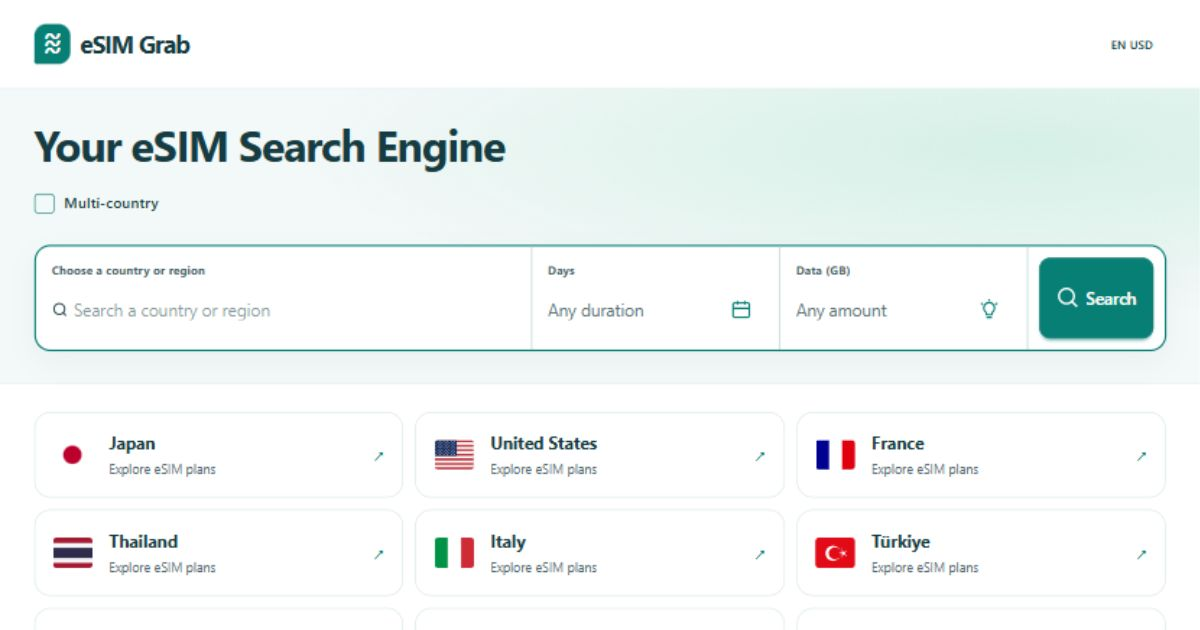
Imagine you are visiting Japan for seven days, from arrival to departure. You use maps and public-transport directions, book taxis, message friends and make calls in apps such as WhatsApp or LINE. You also translate menus, look up restaurants, check bookings and email, share a few photos, and occasionally watch a short video. Your hotel has Wi-Fi for the evening. Here is how to turn that ordinary travel routine into a useful eSIM Grab search.
1. Find the country you are actually visiting
Open eSIM Grab and type Japan into the destination search. Select Japan, then press Search to open its comparison page. For your own trip, choose that country instead. You do not need to start with a regional or worldwide search for a single-country holiday.
Use the language and currency selector at the top to make the page easier to read and prices easier to compare. A country page can also include regional plans that cover that country, so check the coverage of the plan you choose.

2. Set a data budget around your days out
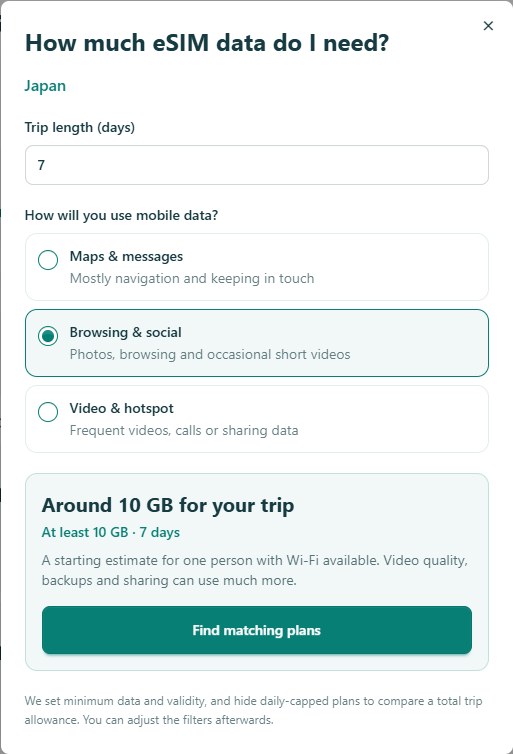
For this example, use 0.5–1 GB per day as a planning budget, not a measured promise of what those apps consume. Seven days gives 3.5–7 GB; comparing 5 GB and 10 GB packages gives you a useful starting range. Start with 10 GB if you want some room for photos and occasional video. Your actual use depends on video quality, call length, background activity and how often you connect to Wi-Fi.
Use hotel Wi-Fi for longer videos, video calls, app updates and photo backups. Before leaving the hotel, download available offline maps and save tickets, booking confirmations and your hotel address. Set uploads and updates to Wi-Fi only and reduce video quality on mobile data. If you stream regularly, share data with another device or make long video calls while out, compare 20 GB or more instead.
3. Filter for enough data and enough days
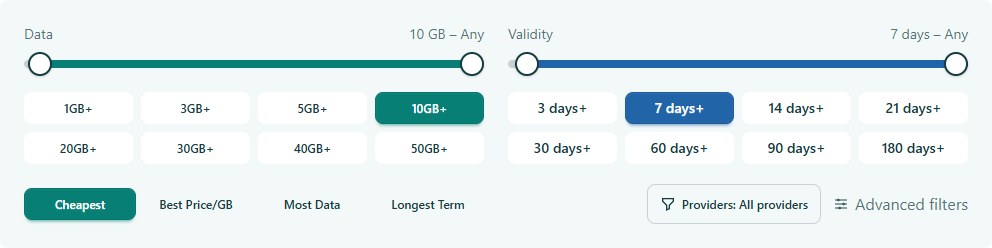
On the Japan results page, tap 10GB+ under Data and 7 days+ under Validity. These buttons set minimums: a 10 GB plan valid for 30 days can still be a good fit for your seven-day trip. Leave the upper sliders at Any initially so you do not hide a useful larger or longer plan.
Count every day you need mobile data, including arrival and departure. For a ten-day trip, move the minimum-validity slider to 10, or use 14 days+ for a simple buffer; 7 days+ alone still allows plans that expire too soon. To compare a smaller budget, switch Data to 5GB+. Always read each result’s allowance: GB/day is a daily quota, while GB is a total package.
4. Choose the advanced filters that matter
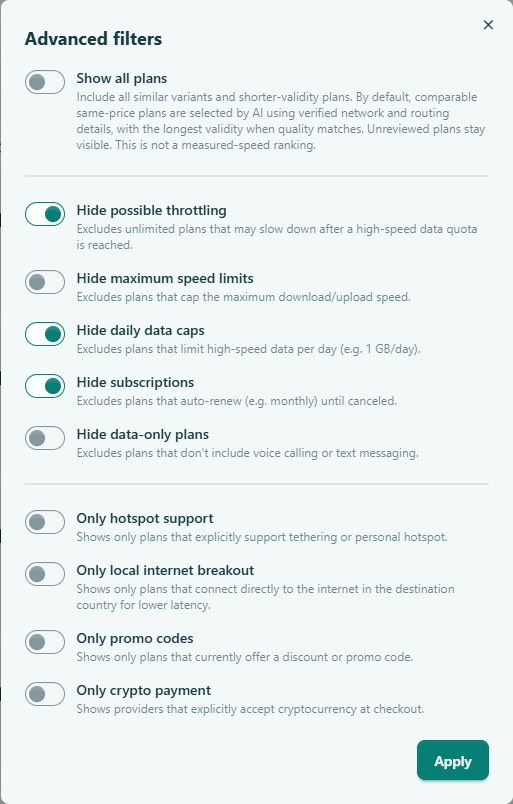
Open Advanced filters. For a straightforward package, turn on Hide subscriptions to exclude plans marked as auto-renewing. Hide daily data caps helps you compare a total allowance that you can use unevenly across the trip. Hide possible throttling excludes plans flagged as slowing after a high-speed quota. Tap Apply to close the panel. These filters reflect the available catalog information, so still review the terms before buying.
Leave Hide data-only plans off if you will call and message through internet apps. App calls use data; ordinary phone calls and SMS require separate support. If a taxi app needs a verification SMS, sign in before departure and check how you will receive it. Turn on Only hotspot support only if you need to share data with a laptop or companion. Leave other filters off unless you need them; extra requirements can remove otherwise suitable options.
5. Compare what you will actually pay
Choose Cheapest once your data and validity requirements are set. Compare the total price of suitable plans, then use Best Price/GB as a second view. A larger package can cost less per GB but still cost more overall; unused data is not a saving. Most Data is useful if you decide you need more room. Use Load more to see further results.
Read Info for any allowance or speed conditions. A daily high-speed quota is not the same as one flexible pool of data, and a reduced speed can affect video and app calls. When a displayed price is converted, the original quote appears with it. Use the checkout total, including any applicable taxes and discount, for your final comparison.
6. Copy a promo code before opening checkout
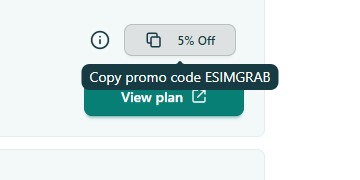
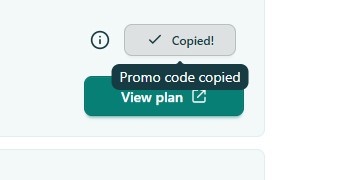
On a plan with an offer, the promo button displays a discount label, such as 10% Off. Click that button to copy its promo code; the button briefly shows Copied! You do not need to open a separate coupon site. To look specifically for offers, open Advanced filters, turn on Only promo codes and tap Apply. Also compare suitable plans without a promo: a discount does not automatically mean the lowest final price.
After copying, open the plan’s checkout link, find the promo or discount field, paste the code and apply it. Confirm that the discount appears in the order total before paying. Some links may already apply an offer; check the total rather than assuming an extra discount will stack. Read eligibility rules, including any first-purchase restriction. If copying fails, retry and use the code shown in the promo tooltip.
7. Check the fit before you pay
Confirm that your phone supports eSIM and is unlocked for the plan you want to use. Check the selected country, data allowance, number of days, final currency and price, and whether the plan is a one-time purchase. Read when validity begins: installation, manual activation or first connection can lead to different timing. Follow the installation instructions and save them while you have Wi-Fi.
For this example, your shortlist is a package with around 10 GB total and at least seven days of validity, with app calling over data and no need for a hotspot. This is a starting point for the traveler described above, not a guarantee that every traveler needs 10 GB. eSIM Grab helps you compare and sends you to checkout; the purchase and activation happen with the seller.
8. Make the allowance last through the trip
Once installed, select the travel eSIM for mobile data and follow its instructions for data roaming. Keep data roaming off on your home line and check automatic data switching so it does not unexpectedly use that line. Check your phone’s data counter after the first day, using the right line and billing period; the plan account is the place to confirm the remaining allowance.
Use mobile data for navigation, taxis, translation, reservations and keeping in touch during the day, then reconnect to hotel Wi-Fi in the evening. If you are using more than expected, cut mobile video and move backups to Wi-Fi before the allowance runs out. The best deal is the lowest final cost that comfortably covers your real trip.
Phone setup and offline maps: Apple · Google Maps
Ready to compare?
Find a plan for your next destination.
Compare the data, validity, price and plan details that matter for your trip.
Explore destinations